Dip powder nails are all the rage on social media these days and for good reason. In the long run, dipping nails will make them last longer, look prettier, and be more cost-effective.
Going to a salon for a dip treatment on your nails, on the other hand, is an expensive choice since you would pay the salon for its services. It’s also true that you don’t have enough time in your busy life to spare a few hours to go to a salon and get your nails done.
Whatever the cause, nail companies are working hard to develop effective methods for extending the life of a manicure. Dip powders are one of those wonderful methods for giving yourself a manicure that lasts for days.
The mainstream market is saturated with hundreds of dip powder options by hundreds of brands. But obviously, you can’t go for everyone. Some brands are relatively costly, whereas others may have just stepped into the world.
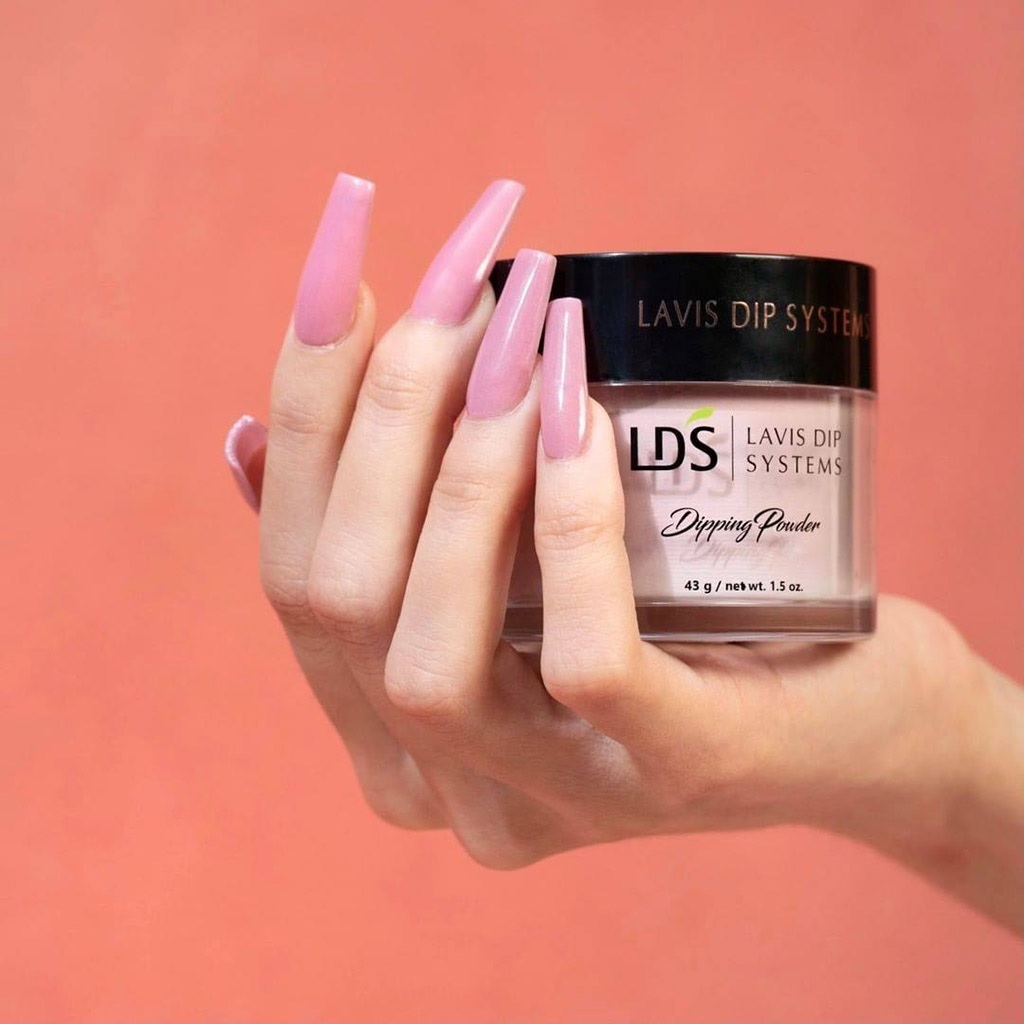
It would be a better choice on your part if you choose a brand that is dependable, affordable, and offers a wide range of nail colors to try. Lavis Dip Systems is unquestionably one of the most well-known brands that come forward to help you save your back. LDS dipping powder color is common among nail enthusiasts because they come in a variety of colors, from neon pinks to hot and crispy berry reds to nudes. You can’t stop yourself from doing as many manicures as you want.
Applying dipping treatment at home is a better and more effective choice than going to a salon, where dipping your nails into a jar can cause severe sanitary issues.
I’ll go over everything you need to know about dip powder nails, including their uses, efficacy, and any advantages and disadvantages of a dip powder manicure for your nails. I will also guide you through the removal process of a dip manicure.
Scroll down to read further:
How to do dip powder nails at home
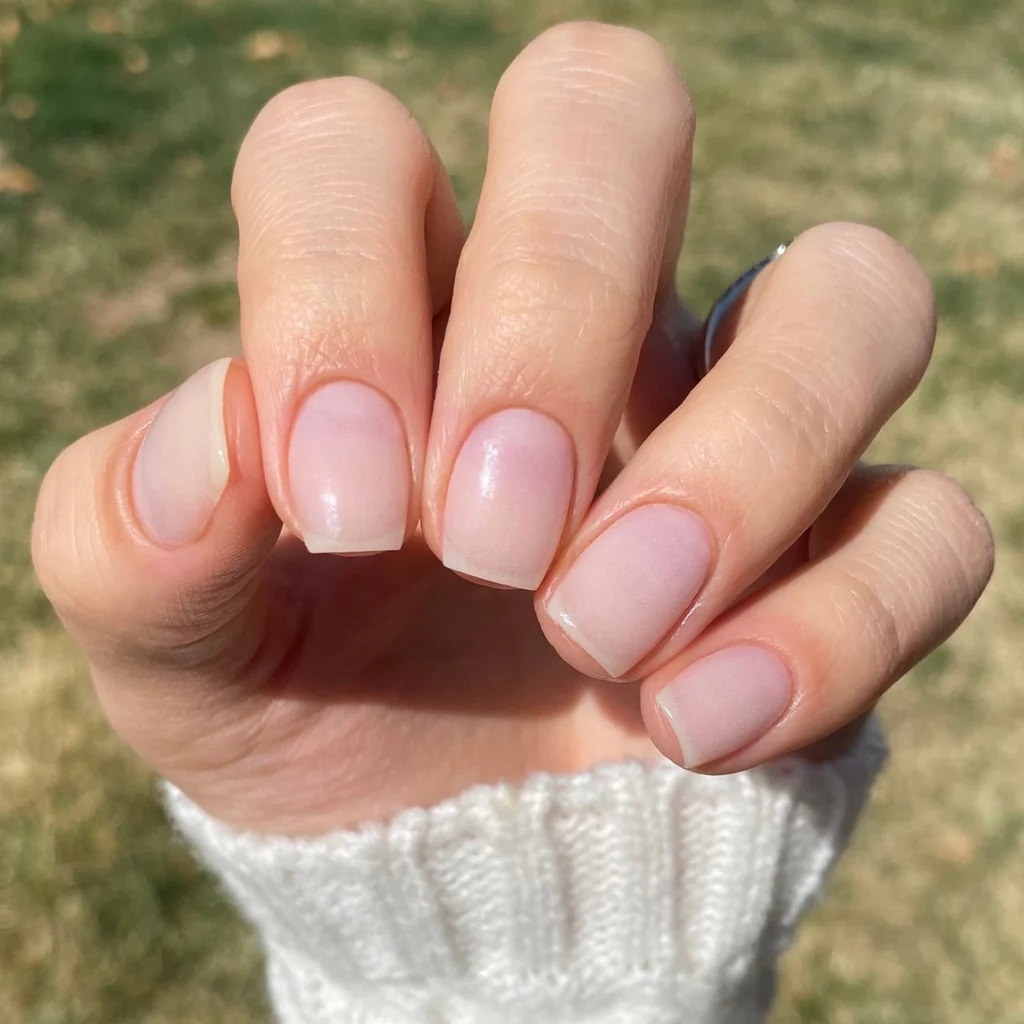
If you’re just starting, you may not know the essentials of a dipping treatment. If this is the case, a nail dipping kit that includes everything you’ll need to do dip powder nails at home is a good place to start. An activator, a base coat, a topcoat, and, of course, a dip powder color are all needed. A dipping powder kit is a convenient alternative to purchasing these collectibles separately. The icing on the cake is the bottles of the kit contain numbers to make the process easier and faster.
You’ll do manicure basics like filing your nails properly, pushing back cuticles, and cleaning your nails properly to remove dust and any other leftovers from your previous manicure before applying the dipping treatment. Then comes the main part: dipping application. The process is fairly simple. Apply the base coat on a nail, dip the nail into finely-milled powder, and tap off the excessive amount of powder. Repeat the process until the entire nail gets full coverage. Apply the activator to harden the powder and seal the look with a top coat to get a chip-resistant finish.
Unlike gel manicure, a dipping manicure needs no curing under UV light. A pro tip is, instead of dipping nails once in the jar, do it twice or thrice to achieve a more durable manicure that lasts you for weeks.
Choose an LDS dipping nail kit, to begin with. It gives you everything that you require to do dipping nails at home by using your expertise. You can also buy separate LDS dip powder nails hues to create a picture-inspired manicure. The shades are limitless and so are your creative ideas of manicure.
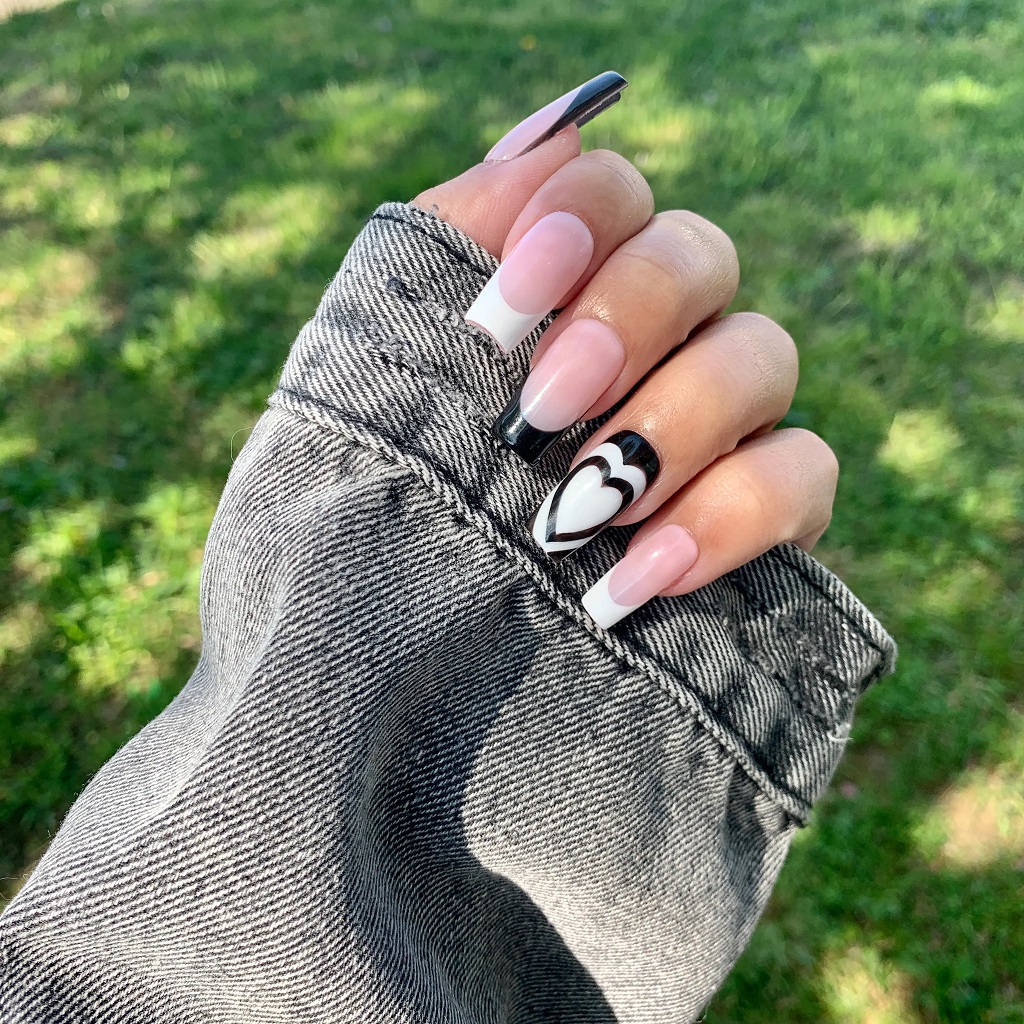
Advantages and disadvantages of dip powder nails
On the brighter side, in comparison to acrylics and gels, dipping nails are a smoother, easier, and less time-consuming operation. In addition, it gives you the same glittery look that a gel manicure is known for. Acrylics have a distinct odor, while the dip powder formula is odorless.
Dip powder comes in a variety of colors, allowing nail DIYers to make endless manicures. The key characteristics of a dipping procedure are that it is consistent, simple, and lasts longer.
On the darker side, its removal is difficult and if not done properly, it is the recipe for disaster as it will cause harm to your nails. Further to this, sharing a dip powder container with several people is the road to cuticle infections.
With that said, doing a dipping manicure at home is much better than dipping nails at a salon where sanitary standards are not strictly adhered to. The icing on the cake is that dipping nails at home are also cost-effective.
How to remove dipping nails at home
For protecting your nails from damage, better to hire the services of a nail technician to remove dipping nails off. But if you want to remove dipping treatment at home and have an electric filter and acetone, the road is for you.
File down the topcoat with an electric filer and wrap a cotton ball dipped with acetone around your nail for 10 minutes, and let the dipping manicure come off.
To show your love for your nail’s health, don’t forget to hydrate the nails with cuticle oil or nail serum.
Conclusion
LDS dip nails is quite easy to use. Even if you’re a nail aficionado, don’t be afraid to try a dipping manicure at home.
So, if you’re a starter and don’t know how to start from scratch, this article is for you.