Tattoos By Anthony Ortega Blog Learn How to Get Acrylic Dip Nails at Home

Learn How to Get Acrylic Dip Nails at Home

The COVID 19 pandemic has taught us many things, one of which is to have an excellent nail manicure at home. The lockdown restrictions do not allow you to go out of your homes. Besides, people have suffered from pay cuts. Therefore, having a manicure at home is an excellent way of saving money. Again, it offers you extreme pleasure to have your manicure at home. While different manicure procedures are available, acrylic dip nails have become people’s favorite.

So, let us learn how to get the best acrylic nails at home.

Get a Quality Acrylic Nail Kit – Better to Shop for Each Item Separately

It should not be an issue if you have done this procedure before. Otherwise, it is better to invest in a high-quality acrylic nail kit. You get good-quality kits online. Alternatively, you can shop for each item separately. It will save you money. However, you should purchase nail acrylic monomers containing EMA rather than MMA. Buying your nail kit items individually is better because you can select the ideal tips to compliment your natural nail shape.

Your nail kit should contain nail clippers, nail files, acrylic nail tips, nail tip glue, acrylic nail dehydrator, acrylic nail primer, acrylic liquid monomer, nails acrylic powder, acrylic brush, and plastic bowl.

Prep Your Nails Properly – the Most Crucial Aspect

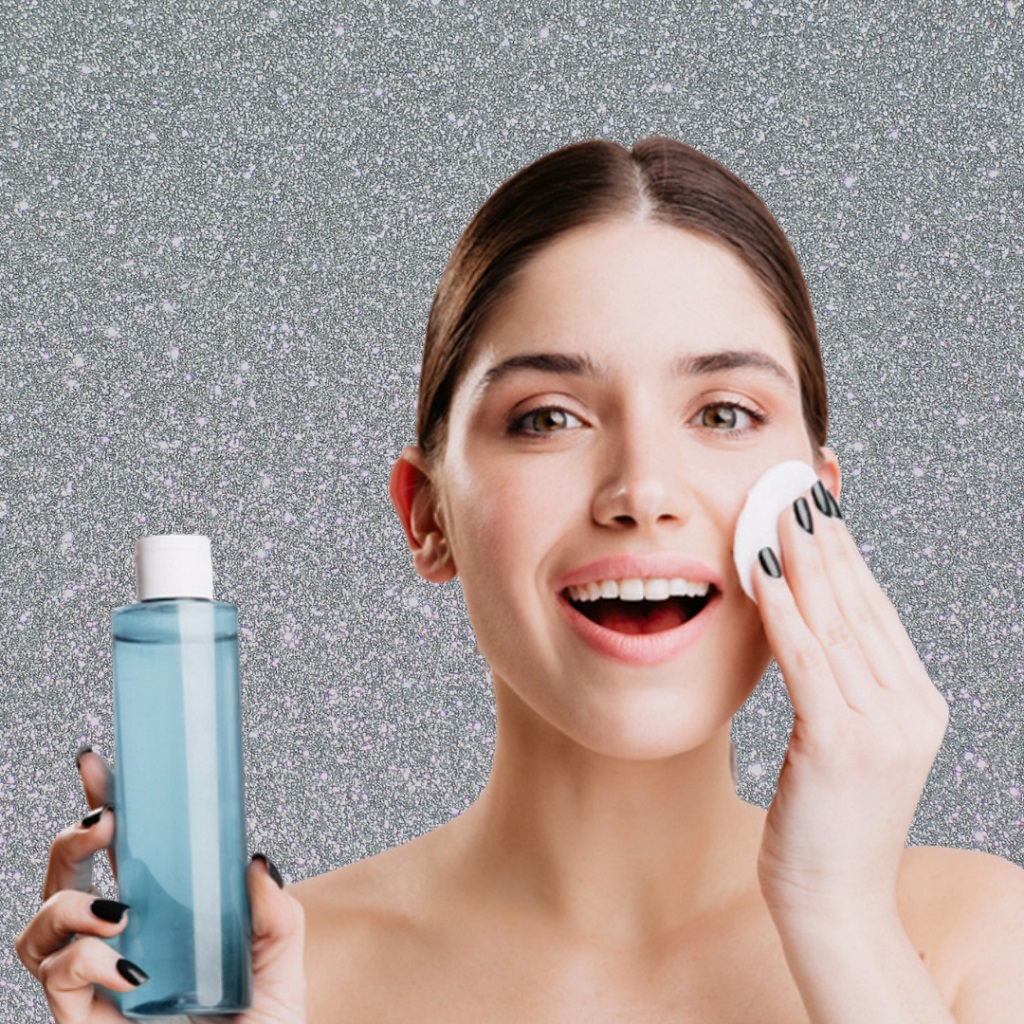
The first activity is to remove your existing nail polish. If you have gel polish, ensure to soak them in acetone properly and remove all traces carefully. Wash your nails thoroughly using soap and water.

Next, you push the cuticles into their grooves. However, you should not soak your cuticles. It is better to use an orangewood cuticle pusher to push them gently. Next, use the nail clippers to trim your nails short. Having short nails is better because you attach the acrylic tips to them. If you have long nails, the natural nails could snap and cause the acrylic tip to snap as well.

The subsequent step is to buff your nails and rough up the surface to allow the nail extension tip to grip it properly.

Size Your Acrylic Nails

The nail acrylic kit has different kinds of acrylic tips. Depending on your nail size and the shape you desire, you can choose your nail tip accordingly. If you do not find appropriate measures, you can file them down to the extent and fit your nail.

If you notice the nail tip carefully, it will have an indent at approximately 2mm. The free edge of your fingernail should fit into this indent securely for a perfect acrylic dip manicure.

On selecting the appropriate acrylic tips, you can proceed with applying acrylic nail glue. Keep the bottom edge of the tip centered around one-third of the way down. It allows your nail tip to remain sturdy as your natural nails grow. Please press the tip for around ten seconds to ensure it sticks properly. Follow the same procedure for all your fingernails.

Shape Your Acrylic Tips According to Your Choice

You can freely use the nail clippers and file to shape your nail tip according to your choice. It is better to refer to a nail shape guide to know which style suits you the best. Run your fingers over the nail tip. If you find an uneven surface, you can buff it down to create an even surface.

Apply the Dehydrating Nail Primer

Once you are ready with your acrylic tip, you can sit down to prepare the acrylic liquid to apply to your nails. It would be best to keep windows open and airy because liquid acrylic emits strong fumes. Pour the liquid acrylic into a plastic dish.

Dehydrate your acrylic nails by removing all moisture. Next, paint your nails with the nail primer, starting from the bottom and going all the way to the acrylic tips. It helps to stick to your nails better.

Coat the Acrylic Dip Nails with the Mixture

Dip a clean brush into the bowl containing the monomer. It would help if you had sufficient monomer on the brush but did not over-saturate it. Next, dip the brush into the bottle containing acrylics powder and create a perfect acrylic bead. Now, apply it to your nail, starting from the cuticles and extending to the nail edge. You can use a paper towel to remove clumps and ensure a smooth finish. Repeat the process on each nail. Finally, finish off the manicure using a thin topcoat layer.

Let Your Acrylic Nails Dry

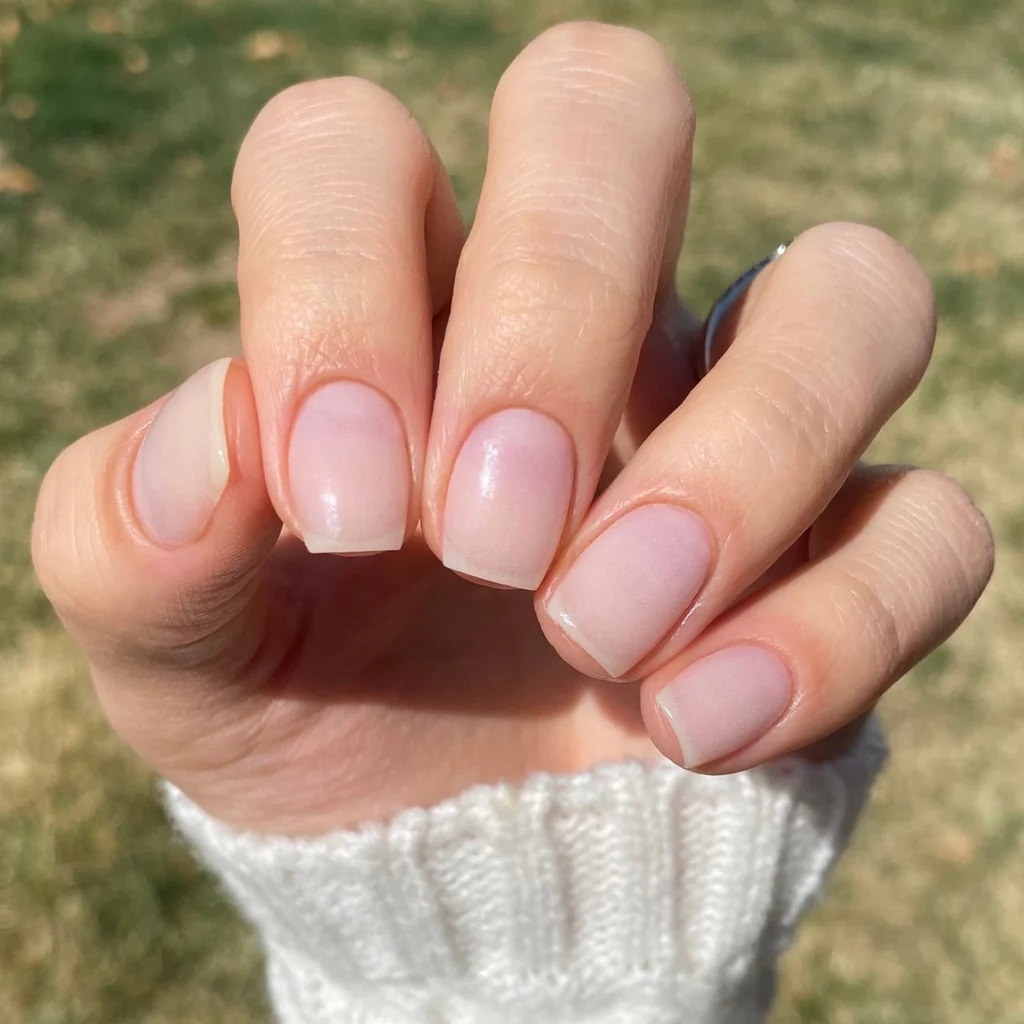
You can dry your acrylic nails under the fan. The process should take around ten minutes. Once they are dry, you can tap your fingernails to get a clicking sound. Finally, you can shape your nails depending on your requirement. Then, your acrylic dip nails are ready for display on your social media handles.

Related Post

Everything You Should Know about Gelixir Gel Polish ColorsEverything You Should Know about Gelixir Gel Polish Colors

Gelixir is a rising company in the nail care and fashion industry. Gelixir gained popularity because of their famous soak-off polishes, also referred to as gel colors. The gelixir brand of soak-off polishes lasts longer and is rich, making it a top choice for gel manicure lovers. It is also loved by many because it is cheaper than other gel products.

Gelixir has since its establishment made a statement in the nail care and fashion industry, and this has gotten them a presence in over 100 countries around the world. Gelixir produces different nail care products ranging from polishes to lacquers and others. Numerous people around the globe appraise their products.

Gelixir polish colors are a standout when polishes are talked of, and this is because they use a formula that gives the nail a glossier look after the manicure than regular polishes. Women choose the best system for their manicures; Still, with the proper considerations, gel manicure is the best option because it uses an easy brush-on technique and gives a glossier finish.

To apply the gel manicure correctly is as important as doing the manicure itself because it is excruciating to do a manicure that peels off to earl, and gel manicure is known to always stay on the nails for as long as possible, except it is not applied correctly.

False assertions about Gelixir gel colors

There are some general opinions among the patrons of gel manicures that gel colors are not a good choice for a manicure because it leaves the nails messy after removal; this is not true in its entirety, gel colors would stain the nails after removal only when you do not follow the appropriate procedures for removing the gel manicure.

(more…)

LDS Dip Powder Nails for StartersLDS Dip Powder Nails for Starters

Dip powder nails are all the rage on social media these days and for good reason. In the long run, dipping nails will make them last longer, look prettier, and be more cost-effective.

Going to a salon for a dip treatment on your nails, on the other hand, is an expensive choice since you would pay the salon for its services. It’s also true that you don’t have enough time in your busy life to spare a few hours to go to a salon and get your nails done.

Whatever the cause, nail companies are working hard to develop effective methods for extending the life of a manicure. Dip powders are one of those wonderful methods for giving yourself a manicure that lasts for days.

The mainstream market is saturated with hundreds of dip powder options by hundreds of brands. But obviously, you can’t go for everyone. Some brands are relatively costly, whereas others may have just stepped into the world.

It would be a better choice on your part if you choose a brand that is dependable, affordable, and offers a wide range of nail colors to try. Lavis Dip Systems is unquestionably one of the most well-known brands that come forward to help you save your back. LDS dipping powder color is common among nail enthusiasts because they come in a variety of colors, from neon pinks to hot and crispy berry reds to nudes. You can’t stop yourself from doing as many manicures as you want.

Applying dipping treatment at home is a better and more effective choice than going to a salon, where dipping your nails into a jar can cause severe sanitary issues.

I’ll go over everything you need to know about dip powder nails, including their uses, efficacy, and any advantages and disadvantages of a dip powder manicure for your nails. I will also guide you through the removal process of a dip manicure.

Scroll down to read further:

How to do dip powder nails at home

If you’re just starting, you may not know the essentials of a dipping treatment. If this is the case, a nail dipping kit that includes everything you’ll need to do dip powder nails at home is a good place to start. An activator, a base coat, a topcoat, and, of course, a dip powder color are all needed. A dipping powder kit is a convenient alternative to purchasing these collectibles separately. The icing on the cake is the bottles of the kit contain numbers to make the process easier and faster.

(more…)

The Best Nail Gel ColorsThe Best Nail Gel Colors

What comes to your mind when you think about long-lasting, glossy, and shiny manicures? If gel color isn’t your number-one choice, then what is it? Suppose you are a fashionista and look at your nails as your ultimate fashion statement and an extension of your clothes. In that case, you might have already discovered that conventional nails – acrylic nails and lacquer nail polish doesn’t always create the best manicure results.

In contrast to the lacquer nail polish that is air-dried, the manicure with the nail gel color requires your nails to be cured with a UV light or a LED light. The LED light ensures that the gel color adheres to the nail canvas and that your manicure stays glossy, shiny, and long-lasting. With proper aftercare, your gel color manicure can last up to three or four weeks. In addition, the gel color manicure doesn’t cause brittle or chipped nails.

What makes Gel Nail Colors Unique?

If you don’t want to visit the nail salon, you can find amazing and affordable nail gel kits that include UV and LED lamps. The gel nail removal process is also smooth and not as complicated as other nail colors. The removal process is also less damaging to the nails, so many women prefer gel color manicures.

(more…)